从零到一带你撸个博客
使用 Hexo + Github Page + Github Actions 从零到一带你撸个博客。
环境安装
安装Git
官网 根据你的系统选择相应的安装文件,安装过程就不说了。
安装NodeJS
官网 下载一个LTS版本,根据你的系统选择相应的安装文件,安装过程就不说了。
安装Hexo
npm install -g hexo
注册Github账号(熟悉Github的同学请直接跳过)
注册Github账号
创建SSH Key(已创建请直接跳过)
中间会要求你输入密码,直接回车表示没有密码
1 | |
输入下面的命令
1 | |
复制命令输出的内容
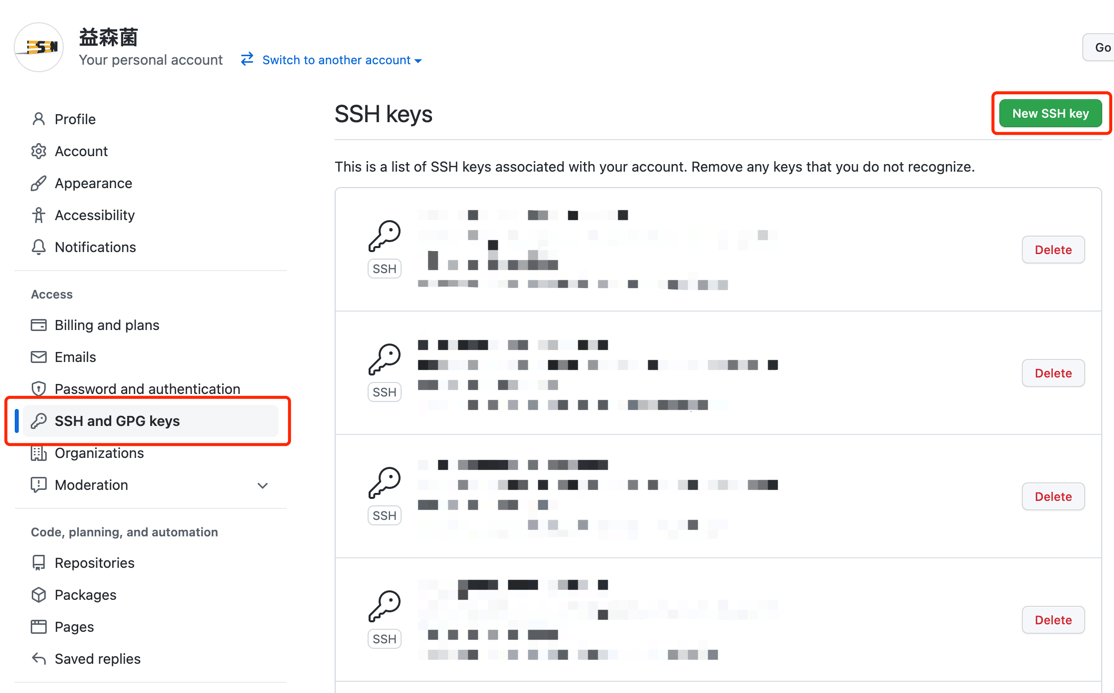
为了不用每次输入密码,配置Github的SSH
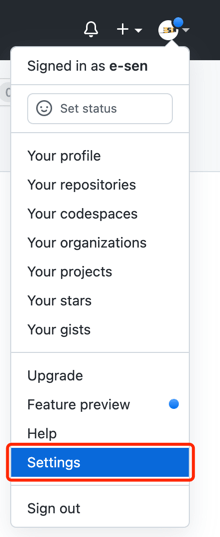
选择 SSH and GPG keys,点击 new SSH key
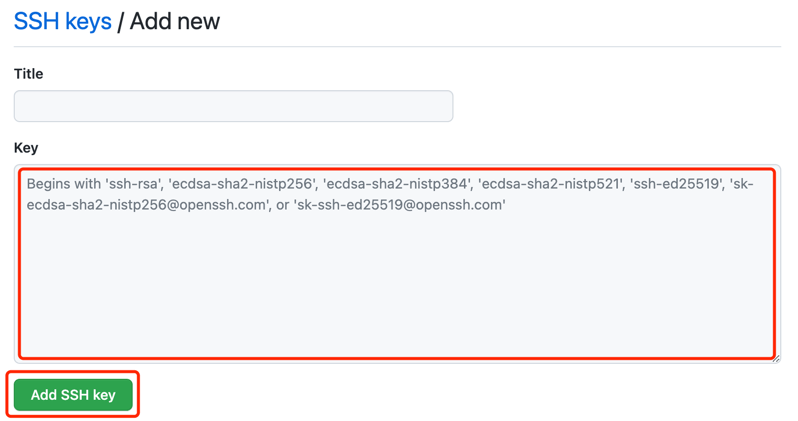
在红框内粘贴之前复制的内容,点击Add SSH key
运行你的Hexo博客
先让博客运行
创建目录(以Mac为例,Windows用户,请使用Git bash,下面大部分命令应该都是支持的)
1 | |
初始化Hexo博客
1 | |
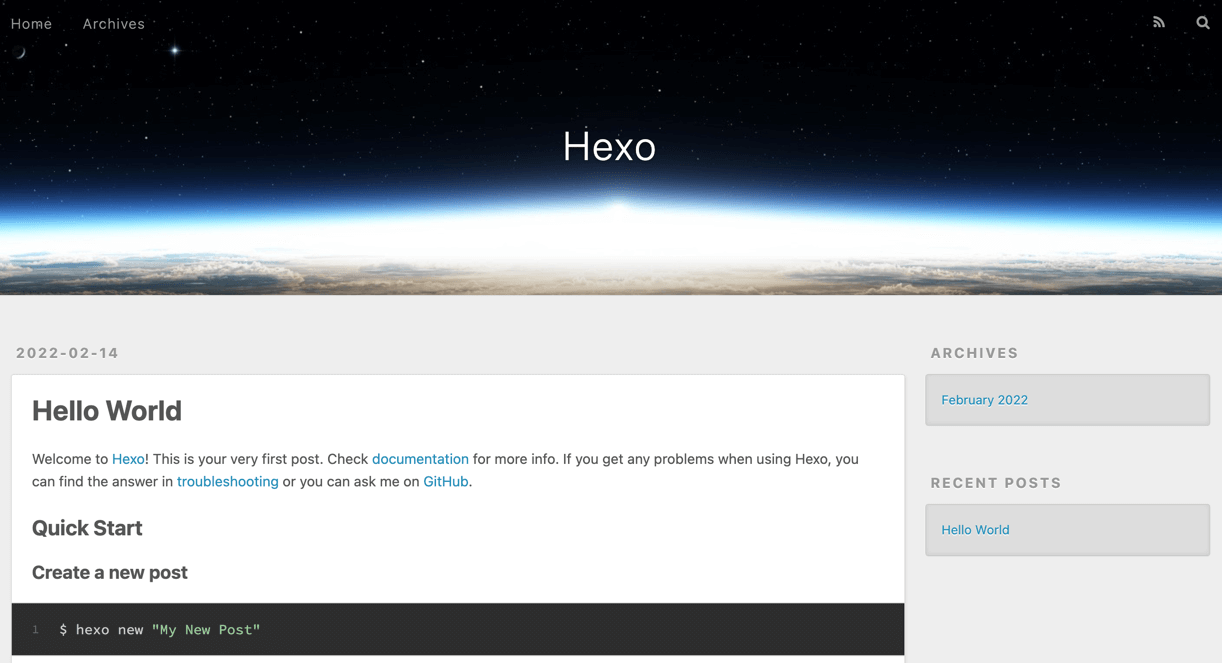
启动Hexo预览
1 | |
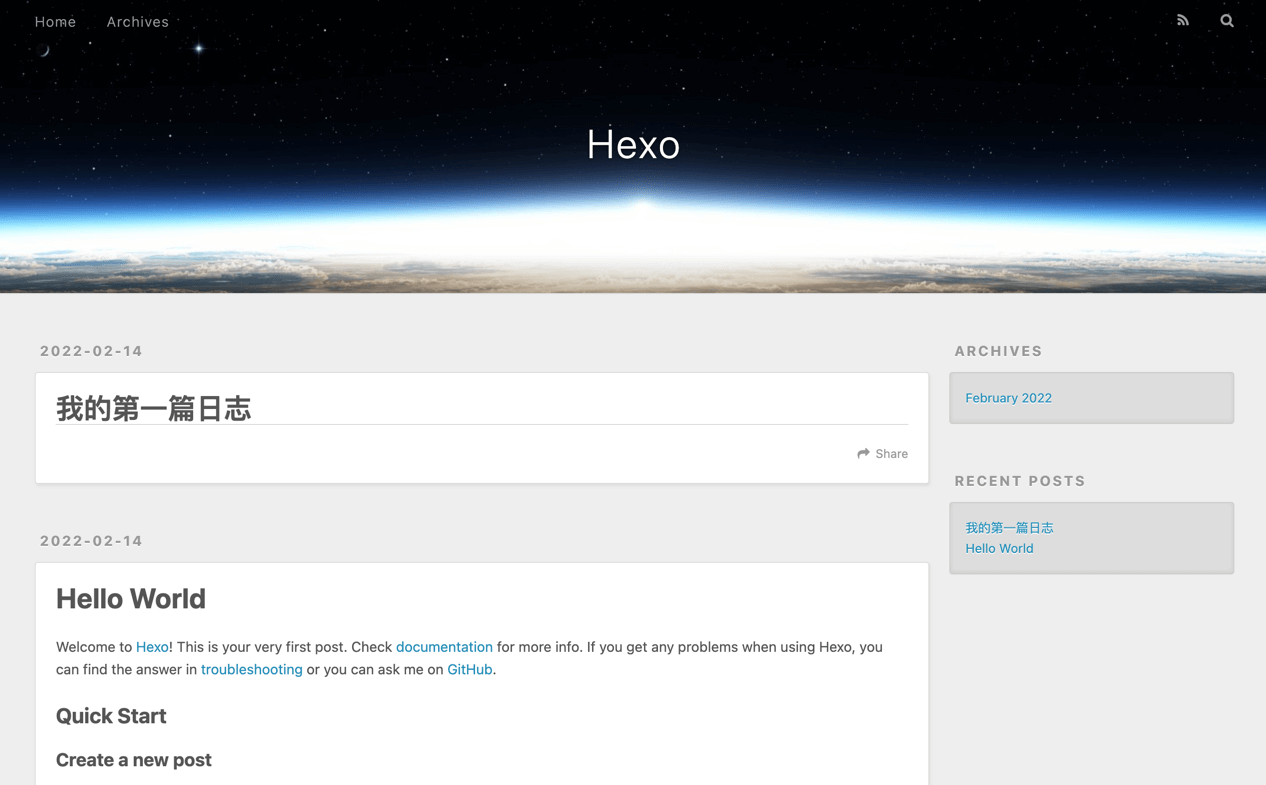
这时候就可以在 http://localohost:4000 打开你的博客了
写下你的第一篇日志
另起一个终端窗口
1 | |
刷新页面,你的首页就会出现你的第一篇日志
修改第一篇日志内容
打开你的博客目录,在/source/_posts/目录下,你可以看到我的第一篇日志.md。编辑他,刷新你的网页,你就可以在网页上看到最新的内容。
日志编写格式是Markdown,具体语法我给给传送门,不做赘述
发布博客
创建一个Repository(已创建请直接跳过)
点击右上角的+号
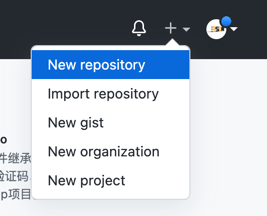
输入Repository name 然后点击Create Repository

把博客源文件上传到Github
设置远程地址
这些操作都得在你的博客目录下完成,本案例中的目录是~/blog
1 | |
还记得刚刚在Github上创建的Repository吗?
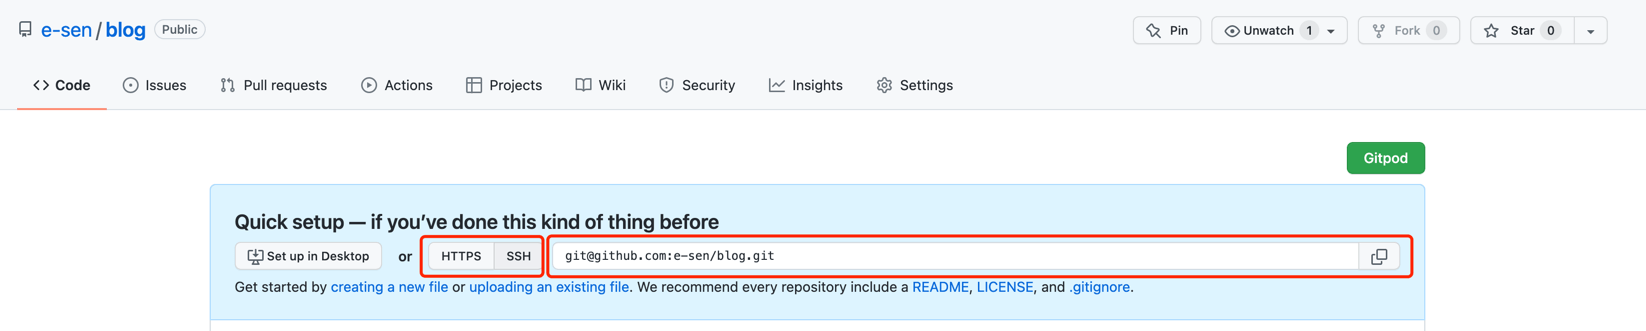
HTTPS OR SSH 选择 SSH,然后复制红色框框里面的内容
1 | |
添加缓存文件
1 | |
提交源代码
1 | |
上传博客源码
1 | |
修改发布方式
修改配置文件
找到博客目录下的 _config.yml 文件,找到最下方的 deploy,修改为
1 | |
安装插件
先安装Git发布插件
1 | |
发布博客
1 | |
等待执行完毕,发布成功
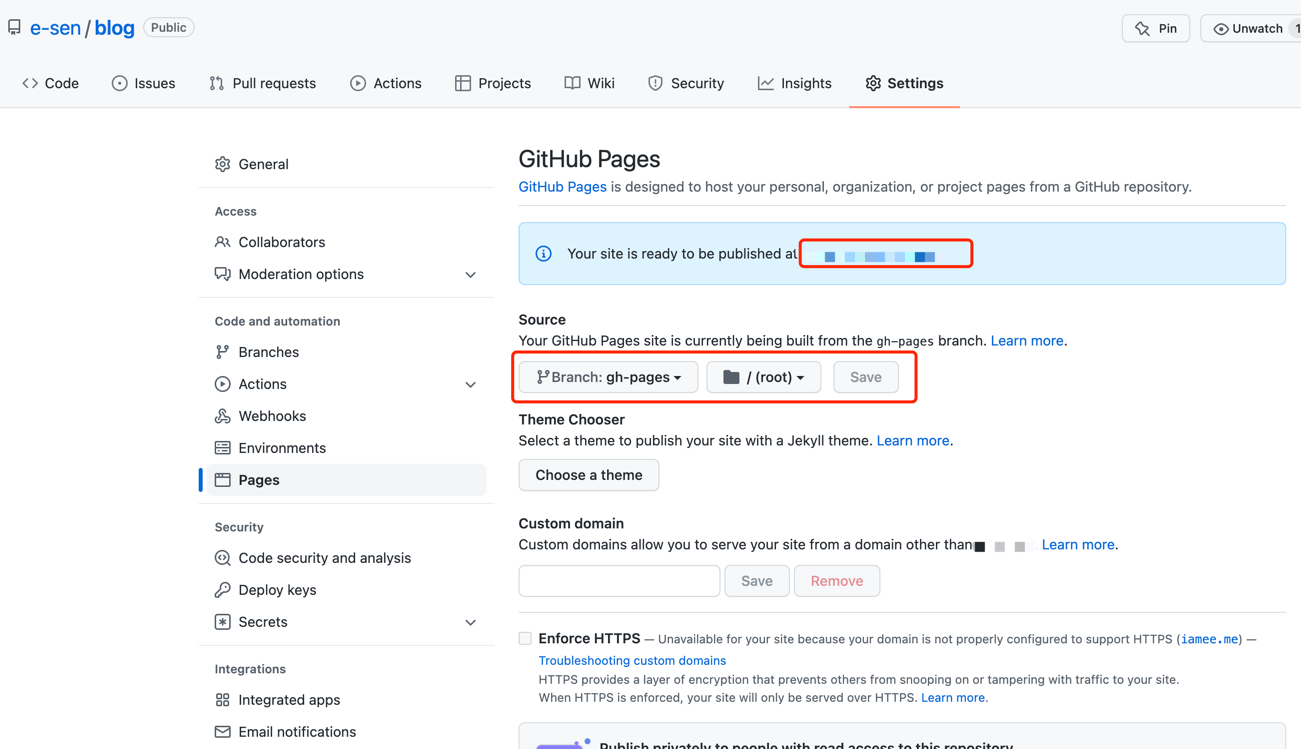
配置Github Page
- 可以在红色小框框内看到你的可访问网址。
Source选择Branch:gh-pages
自动化发布博客
发布基本上可以说做完了,接下来要简化我们的工作流程。
我们不想每次都在客户端执行 hexo d 去发布最新的博客。能不能有一个CI工具帮帮我们呢?
答案是:可以的
Github Actions
注意哦,这个是比较隐私的部分,需要保证自己的私钥安全
复制你的SSH私钥
1 | |
复制命令输出的内容
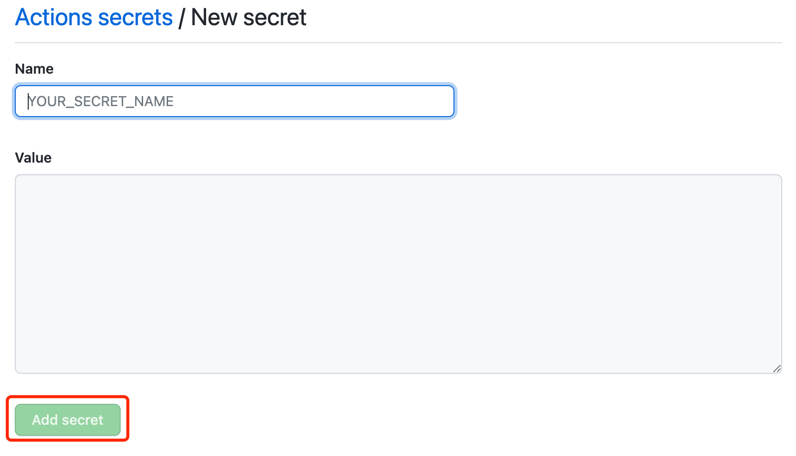
配置Secrets
点击Settings > Secrets > Actions > New repository secret
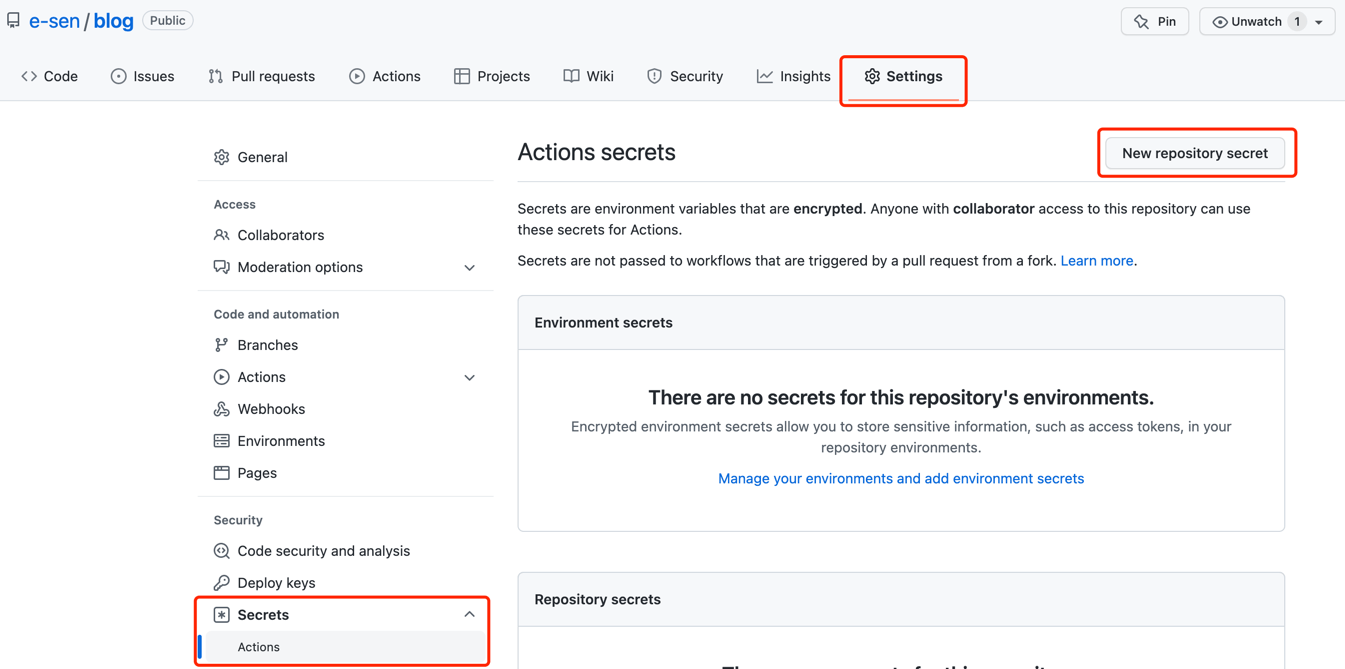
注意Name需要填写DEPLOY_KEY,Value就是刚刚复制的cat ~/.ssh/id_rsa输出的内容
添加自动发布文件
创建文件夹.github/workflows/
1 | |
创建文件deploy.yml,把一下内容粘贴进去
1 | |
大功告成!
以后你就可以直接在你的Repository里面修改你的文件。
比如说新建一篇日志,就直接在sources/_posts下面 Add file > Create new file,然后按照Hexo需要的格式(注意,要使用.md后缀,用Markdown的语法来书写你的日志),书写你的日志。
保存之后,大概需要几分钟,你的博客就会出现新的内容了(当然,要记得刷新)。
本博客所有文章除特别声明外,均采用 CC BY-SA 4.0 协议 ,转载请注明出处!